Time Recording
Starting the time recording
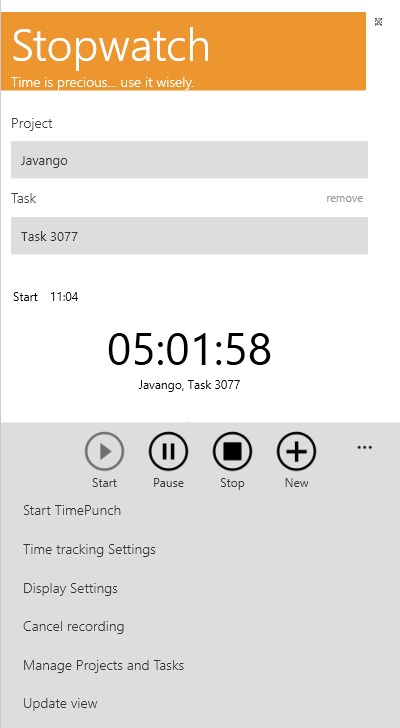
In order to start the time recording, a project needs to be selected first. That can be done with a click to the project and task selection, like the following area shows.
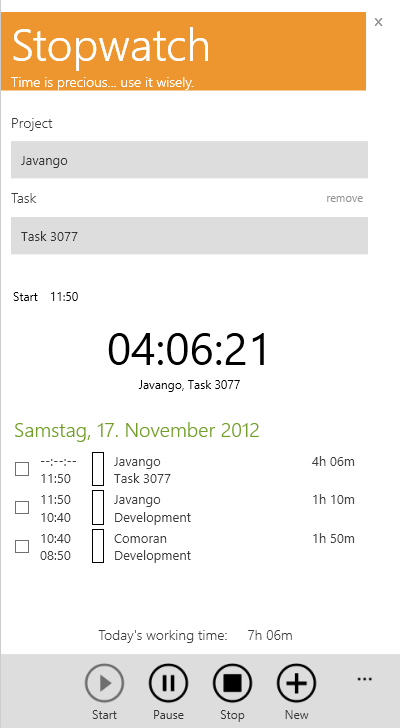
After choosing the project and task, the time recording can be started with a click to the button “start” at the application bar.
Hint: If you want to switch the current project or task, then you don’t have to stop the current time recording. It’s sufficient to select a new project or task and to press “start” again. The previous project will then be stopped automatically and the new one will be started.
Pause / stop / end time recording
Time recording can be paused, stopped and terminated via the application menu.
Special case "Finish work": The employee's status in the attendance list is set to "Work completed" via the end work button. The status "Work completed" is otherwise only set automatically when the employee's target time has been met. The status can be set manually in advance using the "Finish work" button. For example, if the work is ended prematurely.
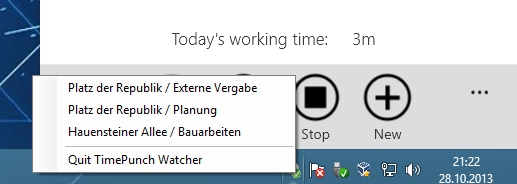
Quickselection
If the TimePunch Watcher will be shown within the system tray of Windows, the current project can be quickly changed to one of the previous projects of the current day. This can be useful if multiple projects are alternating.
Cancelling the time recording
If the current time recording exceeds 24 hour recording time, the following error message will be shown. Normally that can only be happen when the user shut down the PC and goes to holiday while TimePunch is still running.
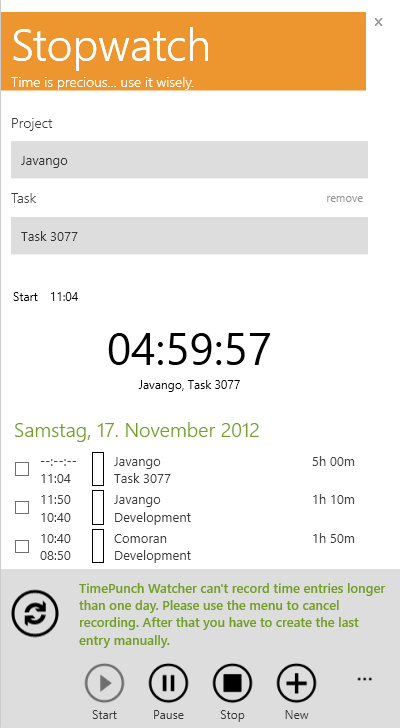
The time recording can be cancelled with a click to the menu item “Cancel time recording”. By doing so, the current time recording will be cancelled and the time entry must be entered manually by using the TimePunch Client.
Changing the current project and adding a description
The current time recording will always be shown as the first entry within the daily overview in the TimePunch Watcher. If the current project shall be changed or a description to the current doing shall be added, this can be done via the detail view of the active entry.
A click to the current entry (light green border) will open the detail view of the entry.
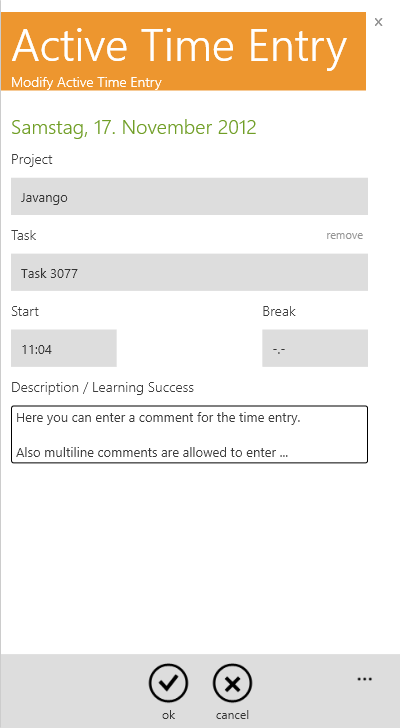
After changing the time entry, all data can be stored by tapping the button “save” in the application bar.
Modifying time entries in the past
Depending on the current user rights, also existing time entries can be adjusted or modified. There are three different ways to achieve this.
Adding a time entry
If the time line need to be enhanced with an additional entry (e.g. adding an ad-hoc meeting), new time entries can be added manually by clicking the application bar “new”.
Adjusting an existing time entry
To click an existing time entry will open the details page in order to modify the time entry. At the details page the current project, task, start and end time can be modified.
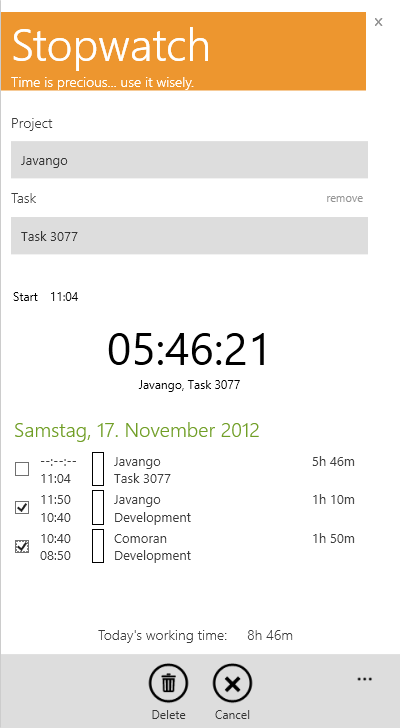
Deleting a time entry
In order to delete time entries it’s necessary to mark the entries for deletion. Therefore the checkbox in front of the entries have to be checked.
If the time entries are all selected, they can be removed by clicking to the application bar “delete”.